Using your shot list on the shoot day
Who can do this: Free plan on your first project, Supporter on all projects. Marking, cutting, and restoring shots needs project edit access; members with view access see the list and the progress bar. The phone list is built for set; the desktop View does the same jobs from the row menu.On the day, the shot list is the running tally: what is in the can, what needs another go, what you let go of. Whoever holds the phone keeps it honest, and the lined script at wrap shows exactly what was shot. Open Visual → Shot List on your phone and the list opens straight away. On a laptop, click View Shot List.
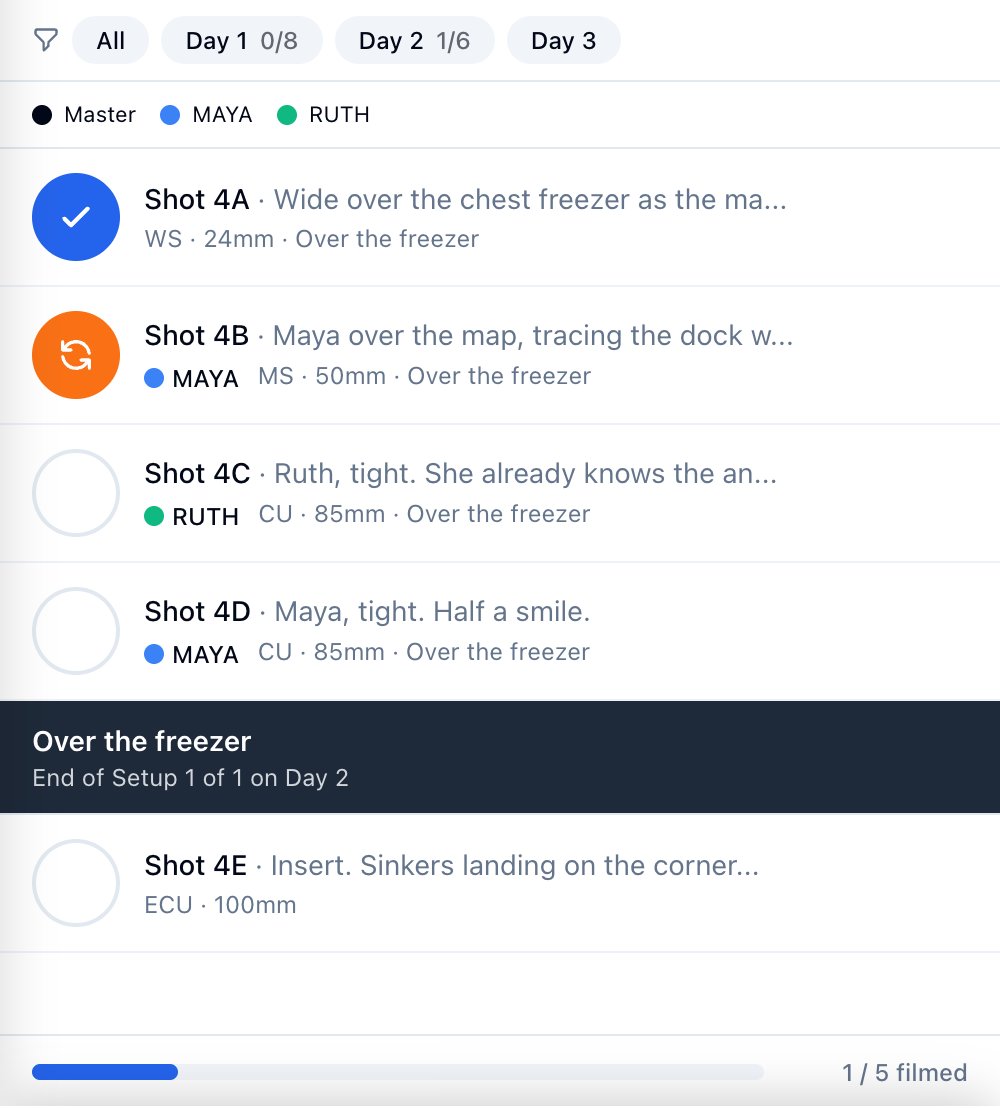
Mark a shot filmed
- Tap the circle on the shot.
See what a shot covers
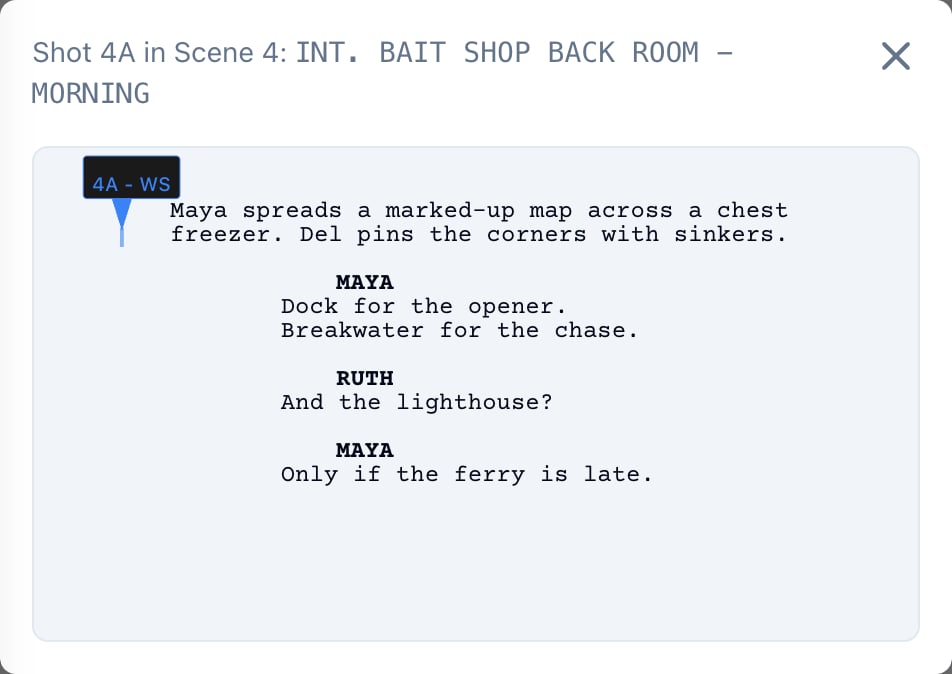
Each shot names who it covers, with that character’s color dot, under its description. On a scene’s list, the dots above the shots show who has coverage so far: a filled dot is covered, a hollow one still needs a shot. Master fills once the scene has a wide or establishing shot. To see the shot’s line on the script:- Tap the shot’s name.
- Tap See in script.
Flag a retake
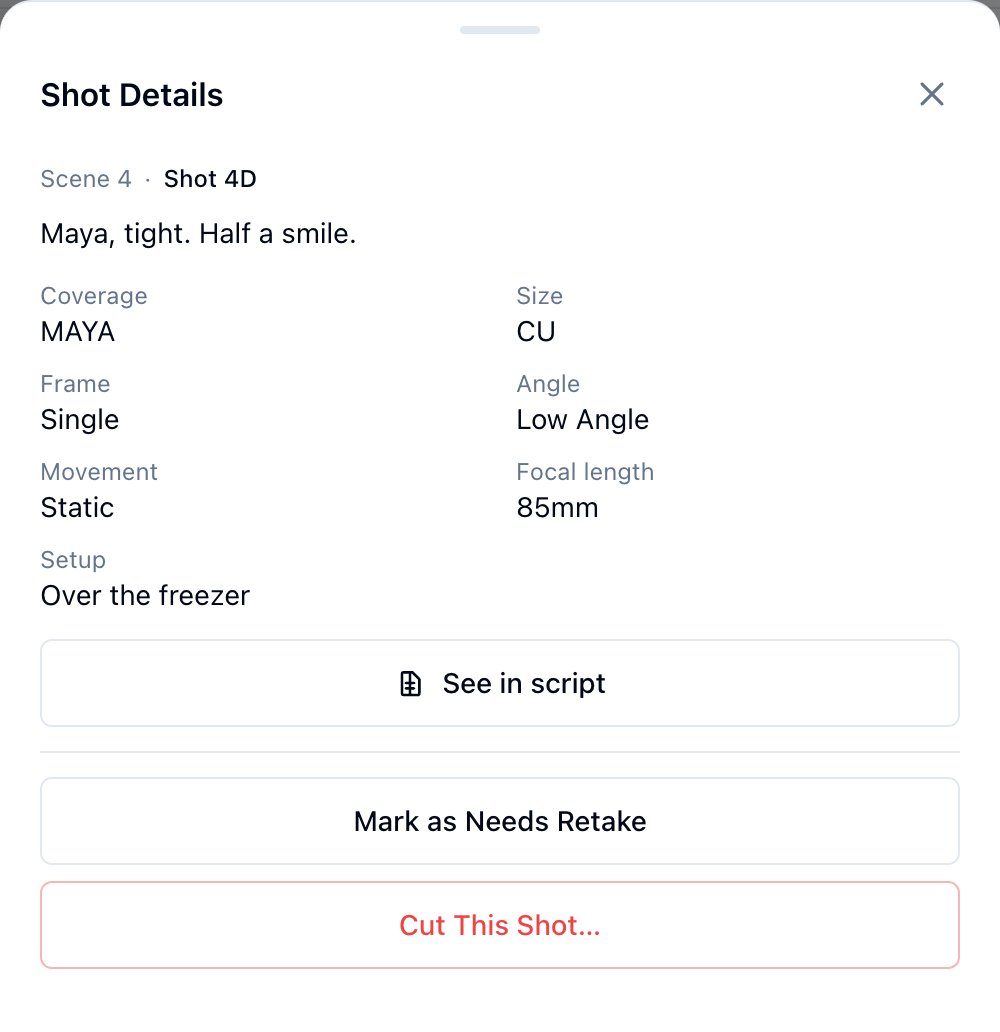
- Tap the shot’s name to open its details.
- Tap Mark as Needs Retake.
Cut a shot you no longer need
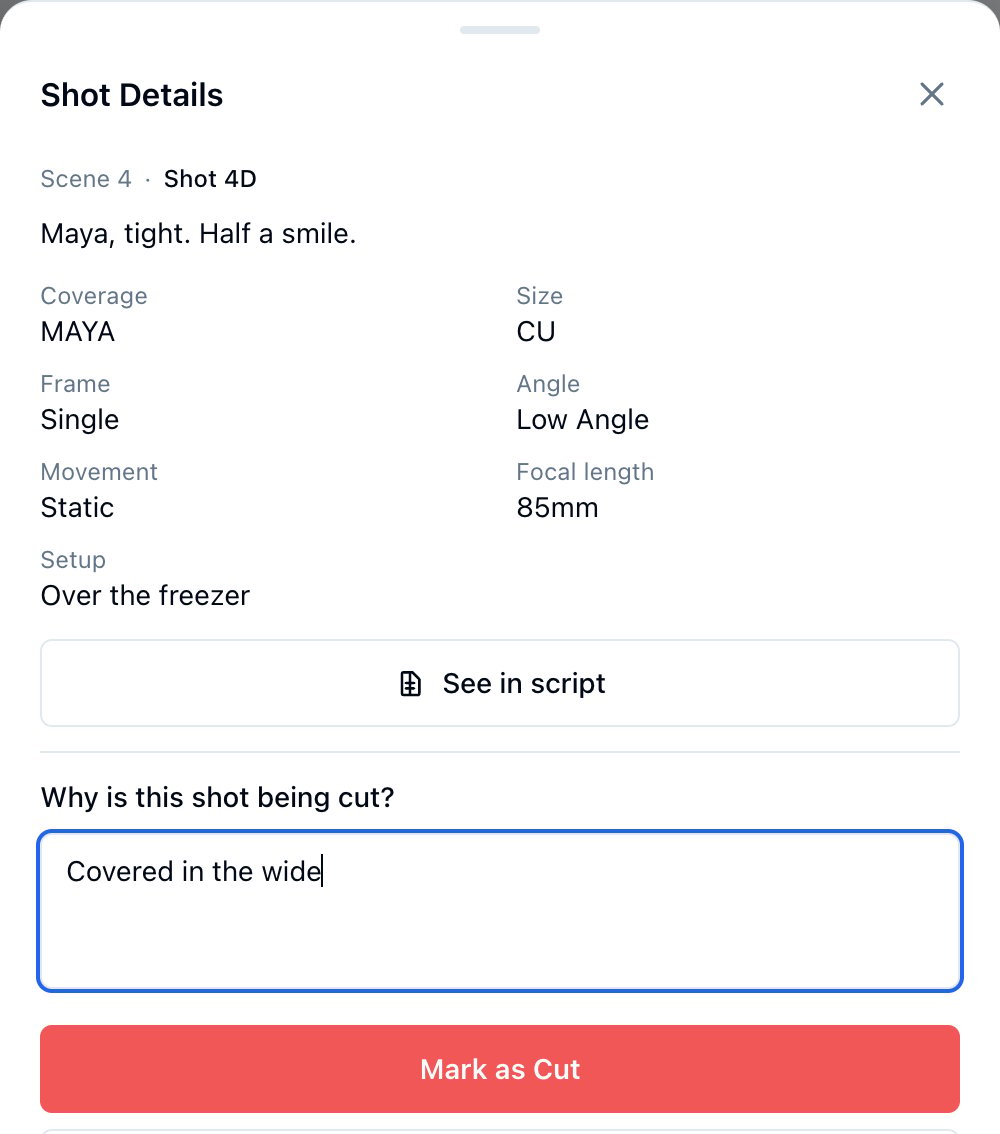
- Tap the shot’s name.
- Tap Cut This Shot….
- Type why, and tap Mark as Cut.
Bring a cut shot back
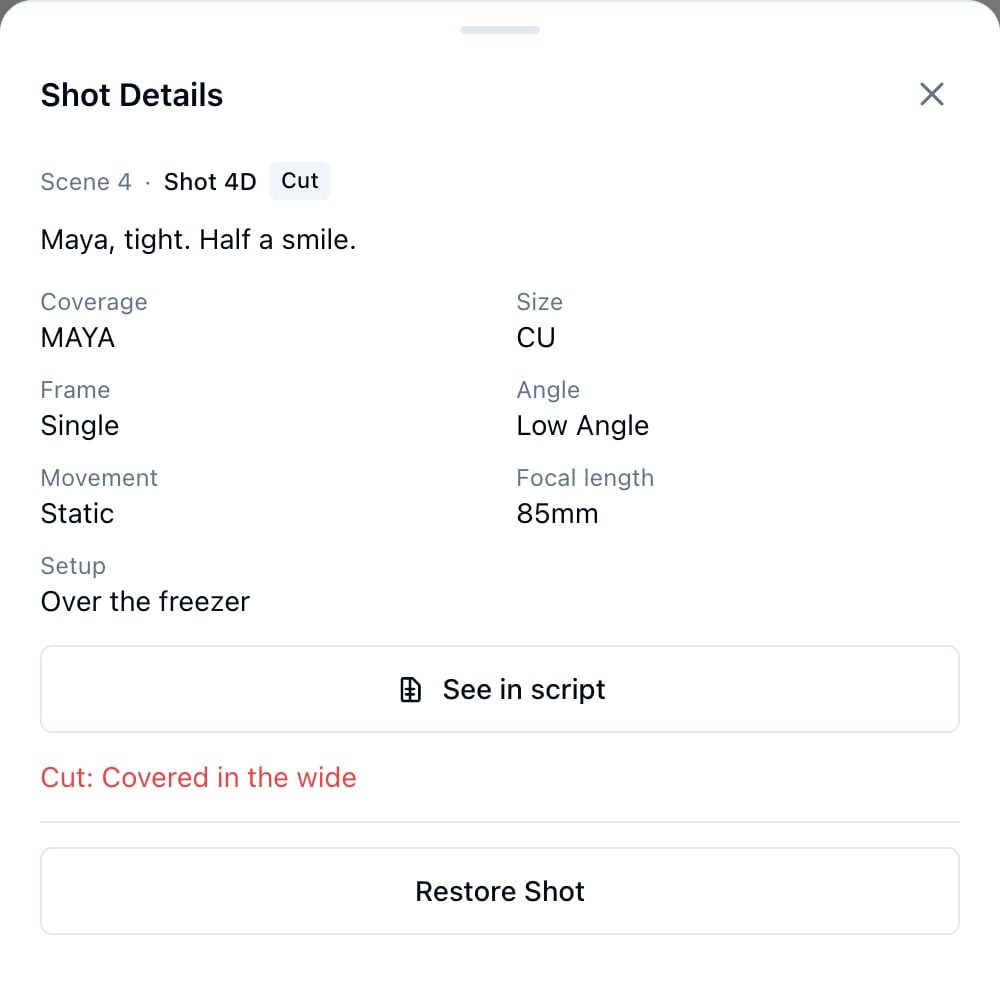
- Tap Cut at the end of the day chips to show the cut shots.
- Tap the shot’s name.
- Tap Restore Shot.
Work one day at a time
Tap a day chip to see only that day’s shots, with its filmed count. The days come from your schedule’s day breaks; the desktop’s Shoot day menu does the same. See Shot list groups and settings.Open the PDFs on your phone
On a scene or a shoot day, the row under the scene picker has Shot list PDF and Lined script. They are the same two sheets you print, so whoever left theirs in the truck can pull them up.Print what was shot
- On a laptop, open the scene in the View.
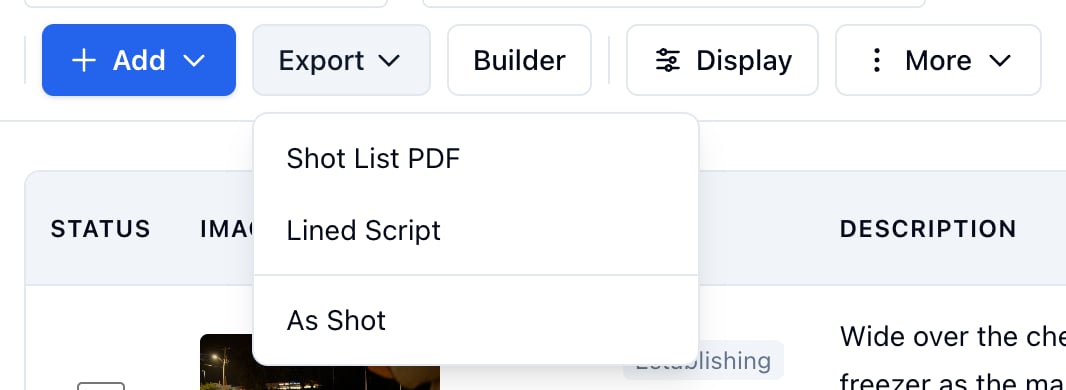
- Click Export, then As Shot.